


Introduction
.NET Core is open-source, cross-platform framework for building various types of applications. We can run the apps built with .NET Core on Windows, Linux and Mac.
Generally developers love building/developing the apps on Windows and deploying them on Linux (because Linux is open source there will not be any licensing costs involved).
If you are using docker desktop to create docker containers on a windows system, usually it creates a Linux container (Windows containers is only supported under Windows Pro/Enterprise license). So if you have Windows Home License and developing the app on windows, but the container which is created by docker is a Linux container, So if we deploy the container, it might work a bit differently on Linux. (Docker Desktop will also use WSL2 for creating Linux Containers using Docker Desktop on windows).
In windows there is feature called WSL (Windows Subsystem for Linux) where we can run a full Linux system on our windows system without using a virtual machine or dual booting. In WSL both Linux and windows can interact with other. Developers can use both Linux and Windows at the same time.
Setup
- First we will install VSCode (many developers favorite editor). We can use VSCode as an IDE for developing .NET applications by installing the C# Dev kit extension.
winget install --Id Microsoft.VisualStudioCode -e

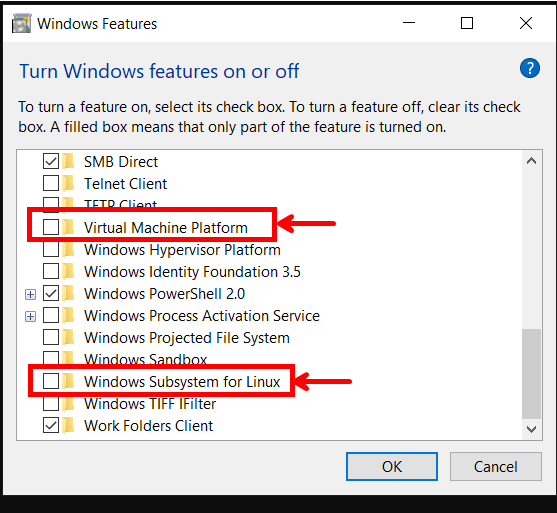
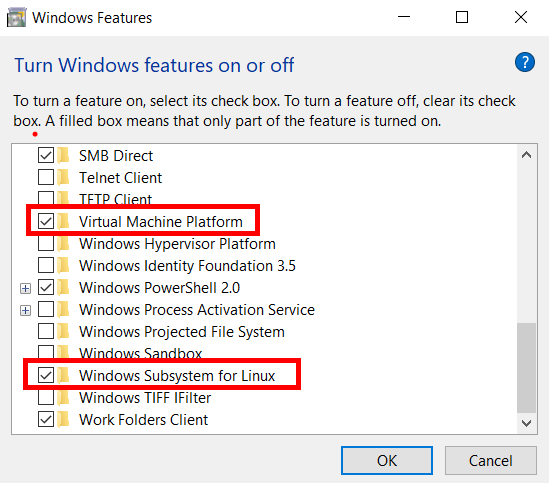
2. Next we will setup WSL. WSL uses two windows features shown below.
Open a PowerShell and run the below command to install wsl.
wsl --install
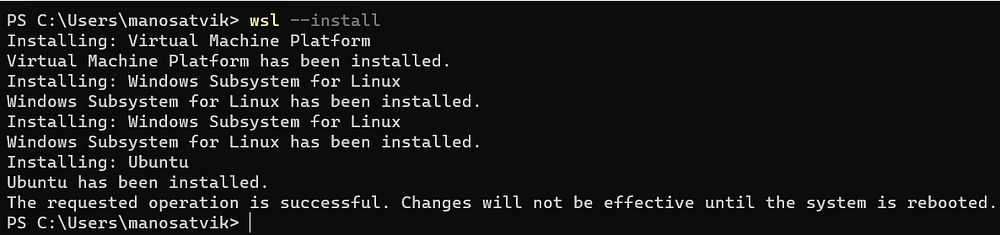
The above command will install the windows features — Virtual Machine Platform and Windows Subsystem for Linux and installs Ubuntu Distro by default.
Incase you want to install different Distro of Linux. Follow the below commands
wsl --list --online
The above command will list the available distros which can be installed.
wsl --install -d <Distribution Name>
Run the above command to install the Linux Distribution of your choice.
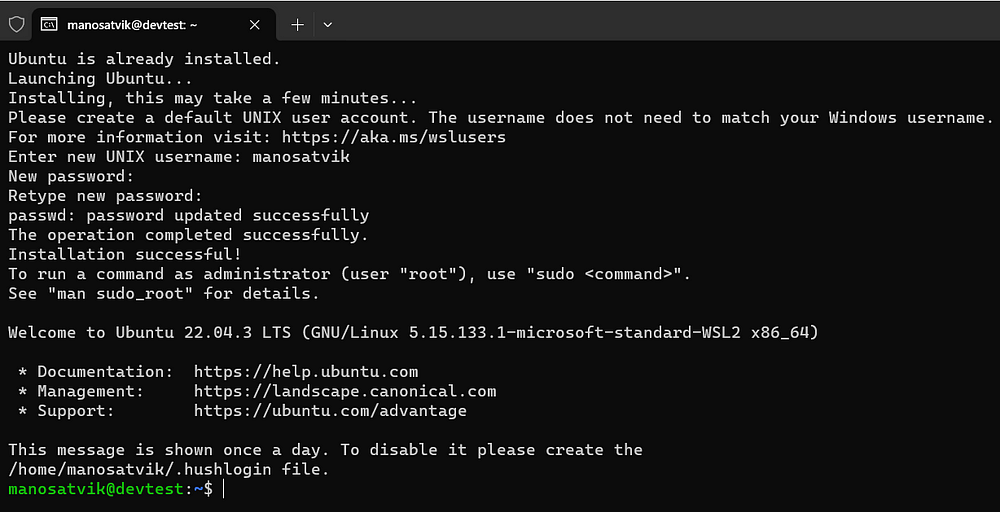
Once WSL is installed, it will ask to reboot the system. Post Rebooting the system it will automatically start installing the Ubuntu (Choosen Distro). During installation it will ask for username and password (these will be used for ubuntu system).
So what happened here is, the ‘‘wsl --install’’ command will activate the virtual machine platform and windows subsystem for linux windows features and will install the Ubuntu Distribution.
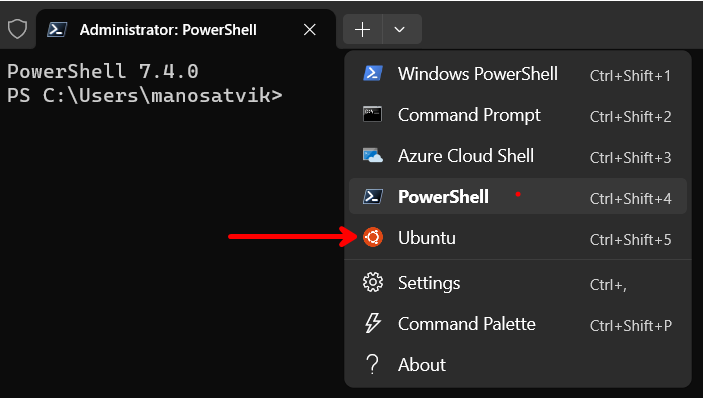
Post installation, we can see the Ubuntu shell installed in our system.
Setting up WSL for .NET Development
So, till now we have setup WSL in our windows system and we have full Linux running on our system. But if you open the Ubuntu shell and run the dotnet command it will throw error, because we haven’t installed .NET into the Linux environment yet.
First upgrade your Linux Distribution (in this case Ubuntu) to the latest by running the below command
sudo apt-get update && sudo apt-get upgrade -y
Post installing the upgrades, we will now install the dotnet. To install dotnet run the below command.
sudo apt-get update && sudo apt-get install -y dotnet-sdk-6.0
By default it will try to get the dotnet from the Ubuntu feed. Microsoft supports two different feeds (Microsoft feed and Ubuntu feed) for installing dotnet. We have to use only one of the above feed. I am using the Ubuntu feed to download the dotnet which is by default. If you want to use Microsoft feed we have to do some tweaks/config changes, I will cover that in a different post. As of writing this post the Ubuntu feed supports .NET 6 and .NET 7.
Check the below link for supported versions
Install .NET on Ubuntu 22.04 - .NET
Demonstrates the various ways to install .NET SDK and .NET Runtime on Ubuntu 22.04.learn.microsoft.com
Run the below command to get the information related to dotnet in your system.
dotnet --info
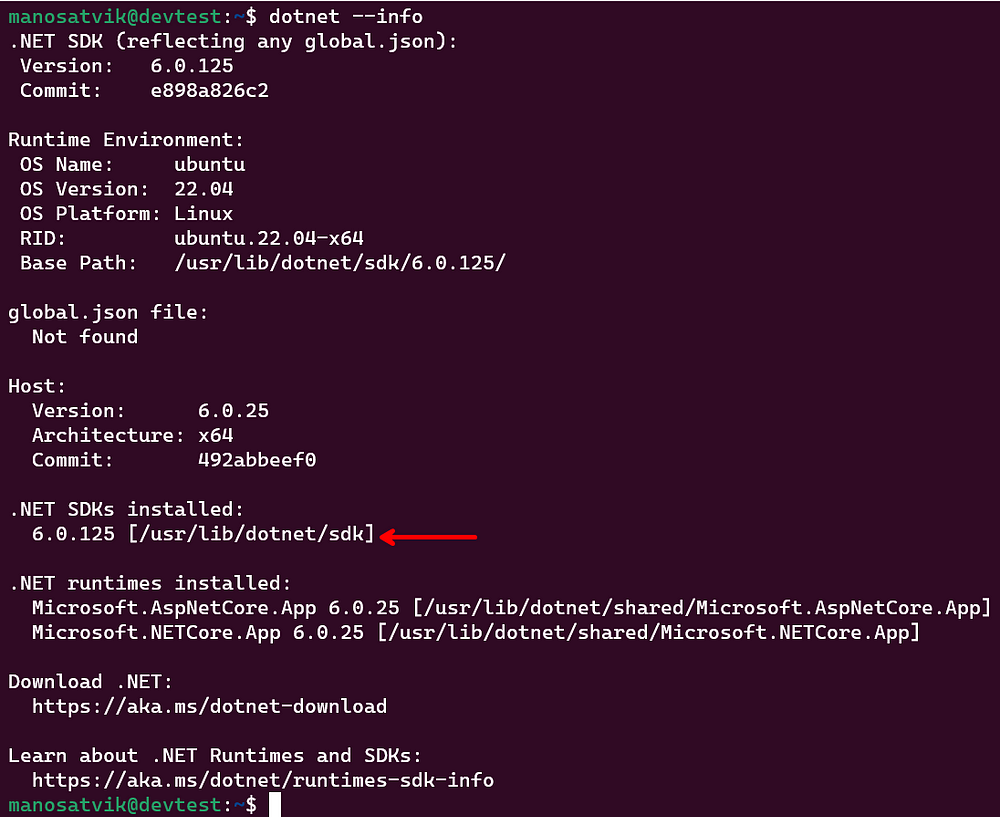
Here as you can see i have installed .NET 6 SDK in the Linux Platform in the Ubuntu OS.
Debugging .NET Applications in WSL
So, we have setup dotnet in the WSL environment, now let’s see how we can debug the .NET applications in WSL
Let’s create a sample console application and run it in the Linux.
dotnet new console -n SampleApp
dotnet run
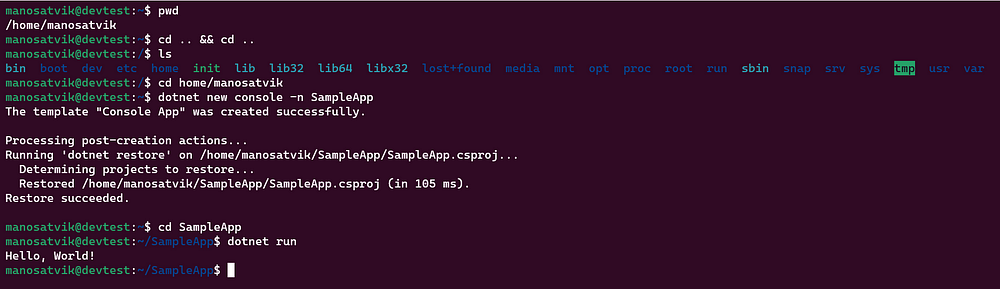
As we can see, we are running in the Linux Environment, we were able to create a sample console application and we were able to run the Sample console application in Linux.
So till now, we are totally working on the bash shell, so how can we develop application in the Linux environment.
We can use vscode to debug and run the application in the WSL. So first we go the newly created directory for sampleApp
cd SampleApp
Now if we run the below command, it will open vscode.
code .
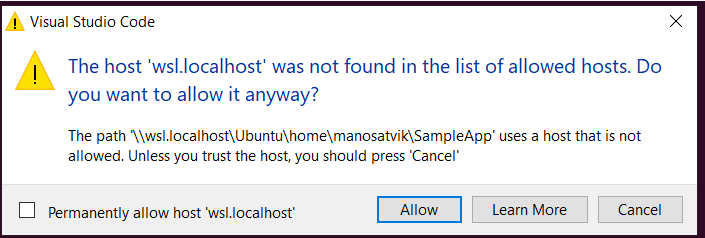
we can click on allow for the above prompt.
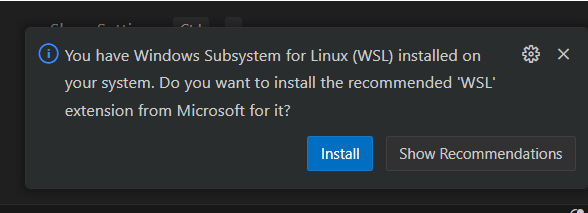
After the vscode is opened it will show the recommendation to install WSL extension. we can click on install. If this recommendation is not shown/closed by mistake we can go the extensions tab and search WSL and install it. After installing the extension we can close the vscode. Because we haven’t opened the vscode in the wsl environment.
Now once again run the below command to open vscode
code .

But this time, it’s installing something. Acutally it’s setting up vscode to do remote debugging in the WSL environment.
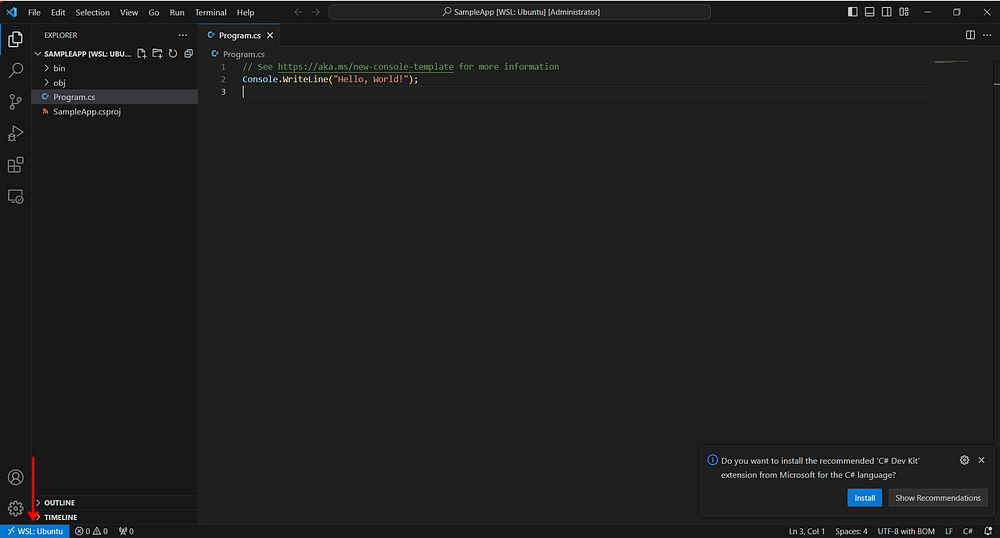
If you observe the bottom left of vscode it shows “WSL:Ubuntu”. So that means it’s running on the Linux (WSL). We can install the “C# Dev Kit” extension and login in with Microsoft account (if you have any visual studio professional/enterprise license login with that account). Now we will be able to Develop the application on vscode on the Linux environment directly. Debug and Run the dotnet application in the Linux environment.
Happy Coding!